很多杀软都有自己的后端云沙箱,这些沙箱能够模拟出软件执行所需的运行环境,通过进程hook技术来对软件执行过程中的行为进行分析,判断其是否有敏感的操作行为,或者更高级的检测手法是,将获取到的程序的API调用序列以及其他的一些行为特征输入到智能分析引擎中进行检测。所以,如果我们的木马没有做好反调试,很容易就被沙箱检测出来。
前言
最简单的反调试的措施就是检测父进程。一般来说,我们手动点击执行的程序的父进程都是explorer。如果一个程序的父进程不是explorer,那么我们就可以认为他是由沙箱启动的。那么我们就直接exit退出,这样,杀软就无法继续对我们进行行为分析了。
这里主要的思路是获取调用kernel32库中的CreateToolhelp32Snapshot函数获得一个进程快照信息,然后从快照中获取到explorer.exe的进程id信息,然后通过当前进程的pid信息在进程快照中找到其父进程的id信息,最后将两者进行比较,判断当前进程是否是有人工启动的。
反调试的措施不仅仅是检测父进程,还可以通过调用windows的API接口IsDebuggerPresent来检查当前进程是否正在被调试。
实现过程
首先通过调用CreateToolhelp32Snapshot拍摄快照
1
2
| HMODULE hModule = LoadLibrary(_T("Kernel32.dll"));
FARPROC Address = GetProcAddress(hModule, "CreateToolhelp32Snapshot");
|
然后使用汇编语句进行传参
1
2
3
4
5
6
| _asm{
push 0
push 2
call Address
mov hkz, eax
}
|
因为传参的话是从右往左传参,传入的第一个参数就是2,在createtoolhelp32snapshot里第一个参数为2的时候含义如下

第二个参数传入0,代表的是默认进程

遍历结构并返回父进程
1
2
3
4
5
6
7
8
9
10
| if ( Process32First( hkz, &pe ) ){
do{
if ( pe.th32ProcessID == pid ){
ParentProcessID = pe.th32ParentProcessID;
break;
}
}
while ( Process32Next( hkz, &pe ) );
}
return ParentProcessID;
|
然后再编写一个函数获取explorer.exe的pid,思路的话都是差不多的
1
2
3
4
5
6
7
8
9
10
11
12
13
14
15
16
17
18
19
20
21
22
23
24
25
26
27
28
29
30
31
32
33
34
35
36
37
| DWORD get_explorer_processid() {
DWORD explorer_id = -1;
PROCESSENTRY32 pe;
HANDLE hkz;
HMODULE hModule = LoadLibrary(_T("Kernel32.dll"));
if (hModule == NULL) {
OutputDebugString(_T("Loaddll error"));
return(-1);
}
FARPROC Address = GetProcAddress(hModule, "CreateToolhelp32Snapshot");
if (Address == NULL) {
OutputDebugString(_T("GetProc error"));
return(-1);
}
_asm {
push0
push2
call Address
mov hkz, eax
}
pe.dwSize = sizeof(PROCESSENTRY32);
if (Process32First(hkz, &pe)) {
do {
if (_wcsicmp(pe.szExeFile, L"explorer.exe") == 0)
{
explorer_id = pe.th32ProcessID;
break;
}
} while (Process32Next(hkz, &pe));
}
return explorer_id;
}
|
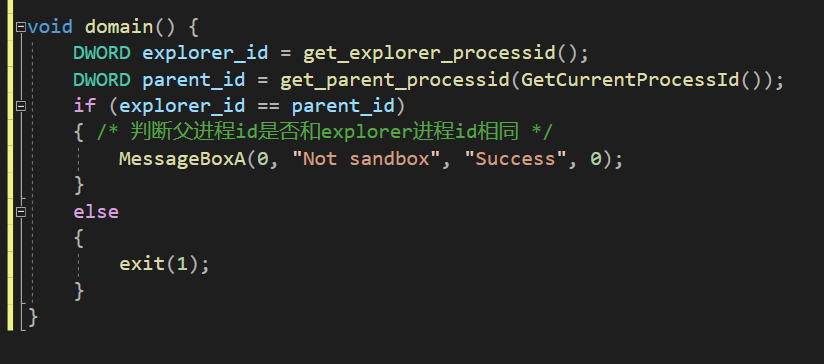
然后再对两个函数返回的ID进行比较,如果ID相同则不为沙箱,若不相同的话则直接退出

完整代码如下
1
2
3
4
5
6
7
8
9
10
11
12
13
14
15
16
17
18
19
20
21
22
23
24
25
26
27
28
29
30
31
32
33
34
35
36
37
38
39
40
41
42
43
44
45
46
47
48
49
50
51
52
53
54
55
56
57
58
59
60
61
62
63
64
65
66
67
68
69
70
71
72
73
74
75
76
77
78
79
80
81
82
83
84
85
86
87
88
89
90
91
92
93
94
95
96
97
|
#include <iostream>
#include <windows.h>
#include <tlhelp32.h>
#include <tchar.h>
DWORD get_parent_processid(DWORD pid)
{
DWORD ParentProcessID = -1;
PROCESSENTRY32 pe;
HANDLE hkz;
HMODULE hModule = LoadLibrary(_T("Kernel32.dll"));
FARPROC Address = GetProcAddress(hModule, "CreateToolhelp32Snapshot");
if (Address == NULL) {
OutputDebugString(_T("GetProc error"));
return(-1);
}
_asm {
push 0
push 2
call Address
mov hkz, eax
}
pe.dwSize = sizeof(PROCESSENTRY32);
if (Process32First(hkz, &pe)) {
do {
if (pe.th32ProcessID == pid) {
ParentProcessID = pe.th32ParentProcessID;
break;
}
} while (Process32Next(hkz, &pe));
}
return ParentProcessID;
}
DWORD get_explorer_processid() {
DWORD explorer_id = -1;
PROCESSENTRY32 pe;
HANDLE hkz;
HMODULE hModule = LoadLibrary(_T("Kernel32.dll"));
if (hModule == NULL) {
OutputDebugString(_T("Loaddll error"));
return(-1);
}
FARPROC Address = GetProcAddress(hModule, "CreateToolhelp32Snapshot");
if (Address == NULL) {
OutputDebugString(_T("GetProc error"));
return(-1);
}
_asm {
push 0
push 2
call Address
mov hkz, eax
}
pe.dwSize = sizeof(PROCESSENTRY32);
if (Process32First(hkz, &pe)) {
do {
if (_wcsicmp(pe.szExeFile, L"explorer.exe") == 0)
{
explorer_id = pe.th32ProcessID;
break;
}
} while (Process32Next(hkz, &pe));
}
return explorer_id;
}
int main() {
DWORD explorer_id = get_explorer_processid();
DWORD parent_id = get_parent_processid(GetCurrentProcessId());
if (explorer_id == parent_id)
{
MessageBox(0, L"Not sandbox", L"Success", 0);
}
else
{
exit(1);
}
}
|
实现效果
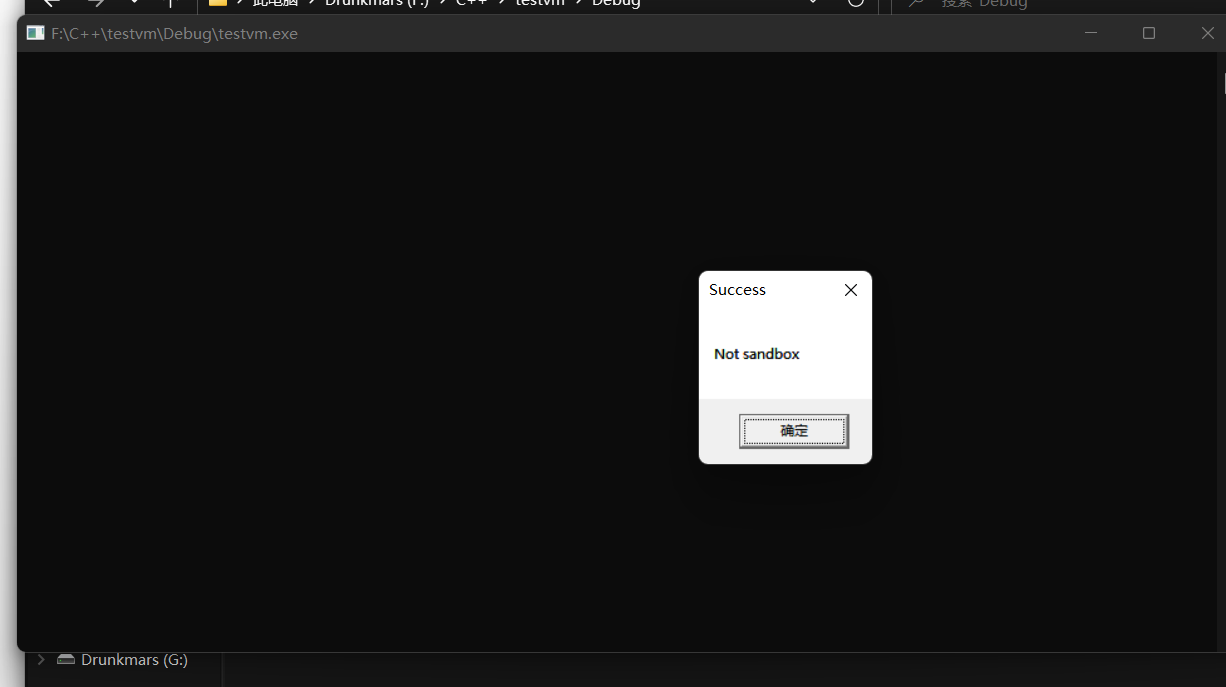
在正常情况下运行的话pid是相同的那么弹窗不为沙箱

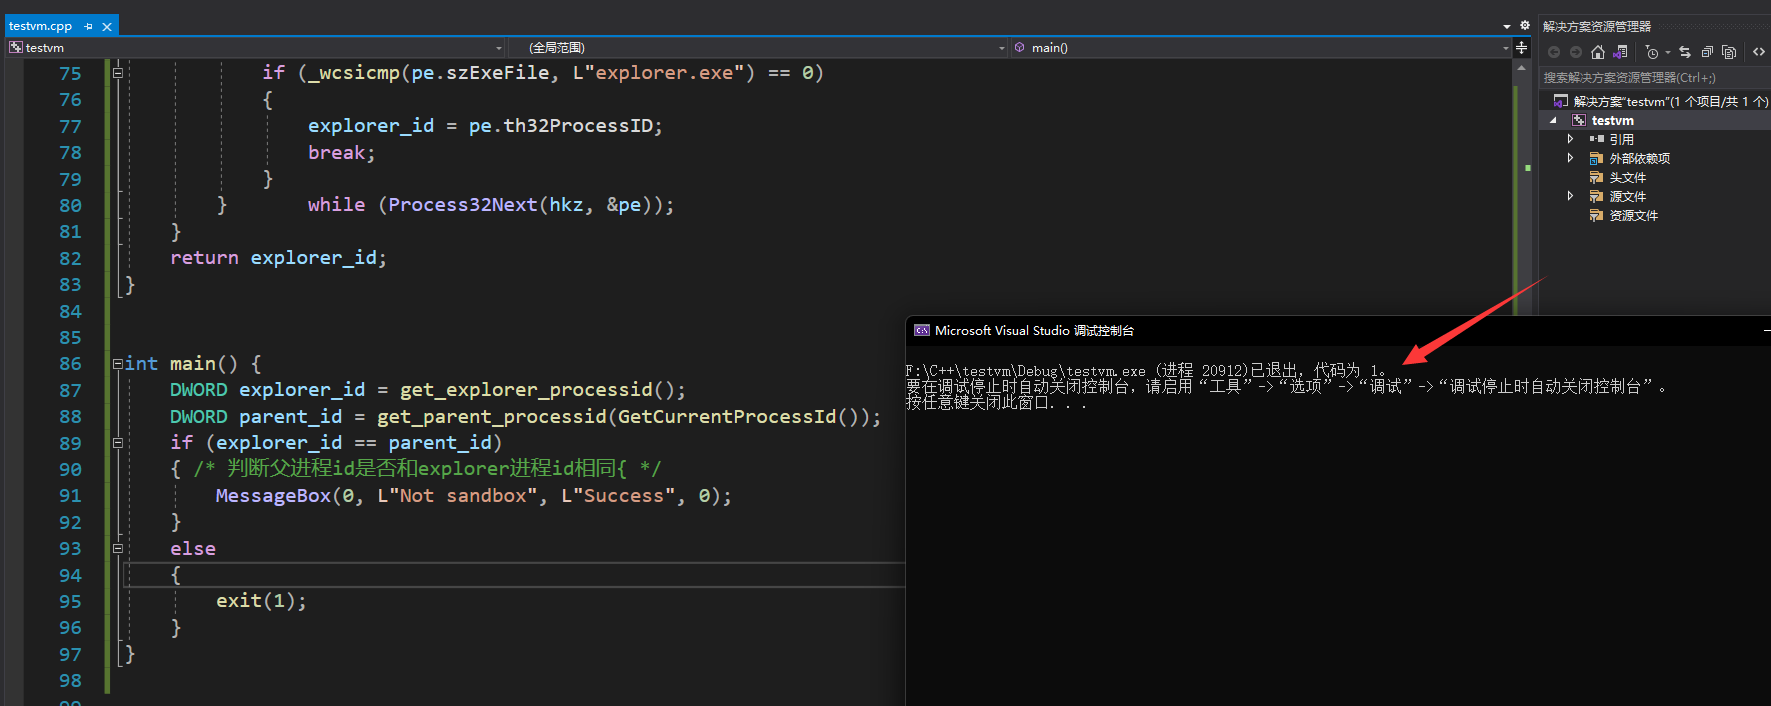
如果是我直接在vs里面运行一下进行调试就报错直接退出

这里再拿到od里面调试一下可以看到直接终止了


